


To access this command line reference from UVK's interface, click Options, on the Home section, select the Utilities tab, and then click Command line help. A dialog box similar to the one in the screenshot below will displayed:
UVKSetup.exe (UVK installer) command line switches:
UVKSetup.exe -Silent -Auto -NoRP -NoDShct -NoCMenu -NoAU
-NoRun -Installdir "Install path"
UVKSetup.exe
-Silent -Auto -NoRP -NoDShct -NoCMenu -NoAU -NoRun -CustomDir
"Install path"
-Silent : Switch used by the auto update feature. No UI is shown, no restore point is created, UVK is executed after install.
-Auto : Unattended mode, No UI is shown. UVK is executed after install, unless you specify -NoRun.
-NoRP : Not to create a system restore point before installing (not recommended).
-NoDShct : Not to create a desktop shortcut.
-NoCMenu : Not to create the "Force delete" and "File information" context menu items.
-NoAU : Disable Auto Update.
-NoRun : Not to run the main application after installing. By default the main application is executed.
-Installdir "Install path" : This
switch pair specifies the directory where UVK should be installed.
UVKSetup will add a subfolder named UVK - Ultra virus killer,
unless the path you specify already has that name.
e.g. if you specify C: as the
"Install path", UVK will be installed in
C:\UVK - Ultra virus killer\. All
Windows environment variables
are supported. These parameters are ignored if UVK is already installed. In
that case, it will be reinstalled in the same path. Example:
UVKSetup.exe -Auto -NoDShct -NoCMenu -NoAU -NoRun -Installdir %SystemDrive%
-Customdir "Install path" : This switch pair specifies the custom installation directory, forcefully. Unlike with -InstallDir, the path you pass in "Install path" is not changed, and UVK will be installed to that folder, even if it is already installed in a different one. Example:
UVKSetup.exe -Auto NoDShct -NoCMenu -NoAU -NoRun -Customdir "%SystemDrive%\TOOLS\UVK"
UVK_en.exe (Main application) command line switches:
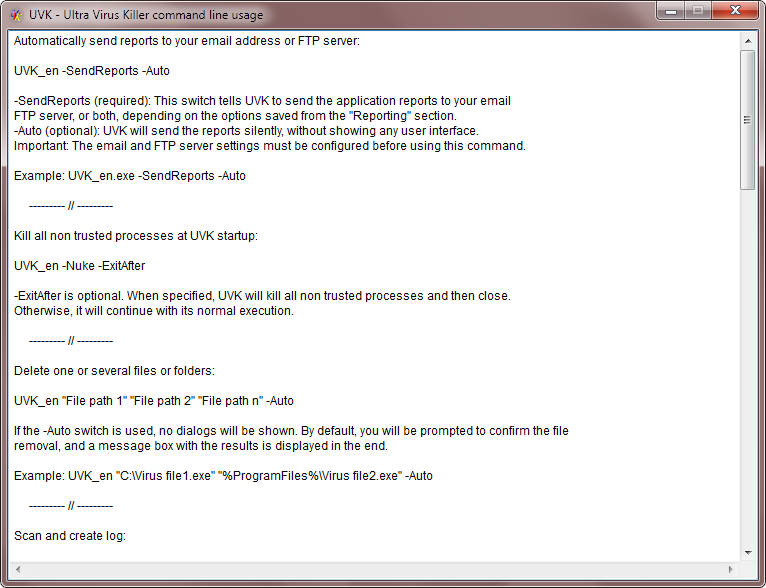
Automatically send reports to your email address or FTP server:
UVK_en.exe -SendReports -Auto -Passive
-SendReports (required): This switch tells UVK to send the application reports to your email address, FTP server, or both, depending on the options previously saved from the Reporting section.
-Auto or
-Passsive specify the UI mode: No UI or progress only,
respectively. Do not use both.
Important: The email and FTP server settings must be previously configured before using this command.
Example: UVK_en.exe -SendReports -Auto
Kill all non trusted processes at load:
UVK_en.exe -Nuke -ExitAfter
-Nuke (required): This switch specifies that UVK will automatically kill all non trusted processes at lauch time.
-ExitAfter is optional. When specified, UVK will kill all non trusted processes and then close.
Otherwise, it will continue with its normal execution.
Delete one or several files or folders:
UVK_en.exe "File 1 path" "File 2 path" "File N path" -Auto -Passive
-Auto or -Passsive specify the UI mode: No UI or progress only, respectively. Do not use both.
Example: UVK_en "C:\Virus file1.exe" "C:\Program files\Virus file2.exe" "C:\Program files\Virus file3.exe" -Auto
Scan and create log:
UVK_en.exe -CreateLog "Log Path" -ShowMsFiles -ExitAfter -Auto -Passive
-CreateLog "Log Path" : These two switches must be used together. "Log Path" specifies the full path of the text file to write the information to. All Windows environment variables are supported. We recommend that you enclose this swicth in double quotes, in case it contains white space characters.
-ShowMsFiles : Show Microsoft signed files in the log. By default, these files aren't shown.
-ExitAfter : Close UVK after the log is created. If -Auto or -Passive is used, this option is automatically enabled.
-Auto or -Passsive specify the UI mode: No UI or progress only, respectively. Do not use both.
Example: UVK_en.exe -CreateLog %SystemDrive%\UVKLog.txt -Auto
Run a UVK script:
UVK_en.exe -ReadFile "Script Path" -EmptyBin -EmptyTemp -RPoint -ExitAfter -Auto -Passive
-ReadFile "Script Path" : These two switches must be used together. "Script Path" specifies the full path of the script file. All Windows environment variables are supported. We recommend that you enclose the "Script Path" swicth in double quotes, in case it contains white space characters.
-EmptyBin : Empty the recycle bin before running the script. By default, it will NOT be emptied.
-EmptyTemp : Empty the temporary folders before running the script. By default, they will NOT be emptied.
-RPoint : Create a system restore point before running the script. By default, it will NOT be created.
-ExitAfter : Close UVK after running the script. With the -Auto switch, this option is automatically enabled.
-Auto or -Passsive specify the UI mode: No UI or progress only, respectively. Do not use both.
Example: UVK_en.exe -ReadFile %SystemDrive%\MyUvkScript.uvk -Auto
Load a System repair settings file:
UVK_en.exe -ImportSr "uvksrfile" -Auto -Passive
"uvksrfile": This switche specifies the full path of the uvksr file to load. We recommend that you enclose this swicth in double quotes, in case it contains white space characters.
-Auto or -Passsive specify the UI mode: No UI or progress only, respectively. Do not use both.
Example: uvk_en.exe -ImportSr "%InstallSourceDir%\SR settings.uvksr" -Auto
Create a system info html log:
UVK_en.exe -WriteSysInfo "Log path" -Open
-WriteSysInfo: Tells UVK to gather all system information shown in the System Info section and save it to an html file which path can be specified in the parameter "Log path".
"Log path" : Specifies the path of the html log. If this parameter is not specified, then the log will be created in the current user's desktop and will be named System Info.htm. We recommend that you enclose this swicth in double quotes, in case it contains white space characters.
-Open : Defines whether to open the system info log with the default browser after its creation. If this parameter is not specified, the log will not be opened.
Empty temporary folders:
UVK_en.exe -EmptyTemp
Empty all users temporary folders and the recycle bin. No user interaction will be needed.
Uninstall UVK, optionally unattended:
UVK_en.exe -Uninst -Auto -Passive
Uninstall UVK in normal or silent mode.
-Auto or -Passive specify the UI mode: No UI or progress only, respectively. Do not use both.
Update UVK silently:
UVK_en.exe -Update
Update UVK in silent mode. This switch must be used alone. No gui is shown. UVK will search for a new version on the background, and if it finds it, downloads and installs it silently.
Update your SFX package:
UVK_en.exe -UpdateSFX
This command creates an SFX package as you previously set in Options > Utilities > Create SFX package. Please see the corresponding help page for more information.
Uninstall your applications' blacklist automatically:
UVK_en.exe /UninstallBL /Force /Unattended /DelLeftovers /BLPath "Blacklist INI path"
/UninstallBL (required) - Tells UVK to go to the Smart Uninstaller and uninstall all blacklisted programs.
/Force (optional) - Use the forced uninstall method. Do not use both /Force and /Unattended.
/Unattended (optional) - Try unattended uninstall. Do not use both /Force and /Unattended.
/DelLeftovers (optional) - after uninstall, scan for and remove any leftovers of the uninstalled apps.
/BLPath "Blacklist INI path" (optional) - Specify the path or URL of a custom blacklist INI file. If this parameter is not specified, the default blacklist is used.
You can also add /Auto or /Quiet to completely remove UVK's UI, or /Passive to show progress info only. UVK itself will not require any user interaction anyways. Each uninstalled application may or may not require user interaction, depending on the parameters specified.
Note: blacklists can be created directly from the Smart Uninstaller, can be cloud synced, and manually edited (INI file format).
Example:
UVK_en.exe /UninstallBL /Force /DelLeftovers
/Quiet
UVK_en.exe /UninstallBL /Unattended /DelLeftovers /BLPath
"%Desktop%\SUBlacklist.ini"
UVKPortable.exe (UVK portable) command line switches:
UVKPortable.exe -CustomDir "Install path" -NoRun
-Customdir "Install path" : Specify the custom installation directory. The application will be installed in the directory you specify in "Install path". We recommend that you enclose this swicth in double quotes, in case it contains white space characters.
-NoRun : This switch tells the package that the main application should not be executed after extraction.
Example of a cmd batch script:
UVKPortable.exe -CustomDir "%SystemDrive%\TOOLS\UVK" -NoRun
"%SystemDrive%\TOOLS\UVK\UVK_en.exe" -Nuke
Any other commandl line switches passed to UVKportable will be forwarded to UVK_en.exe. Example:
UVKPortable.exe -CreateLog %SystemDrive%\UVKLog.txt -Auto
With this command, UVKPortable will extract UVK and create a log on the system drive's root.
UVK Portable also has some special features. It supports drag & drop of uvksr files and UVK scripts to automatically load them. So, if you want to launch UVK through UVK Portable and load a script simmultaneously, drag and drop the script file over UVKPortable's icon.
Because the SFX packages created by the SFX creator are based on UVKPortable, all of the above applies to them too.
Help for the command line switches:
To show the command line usage for each executable, just enter -? or /? after the file name. Examples:
UVK_en.exe -?
UVKInstaller.exe /?
